


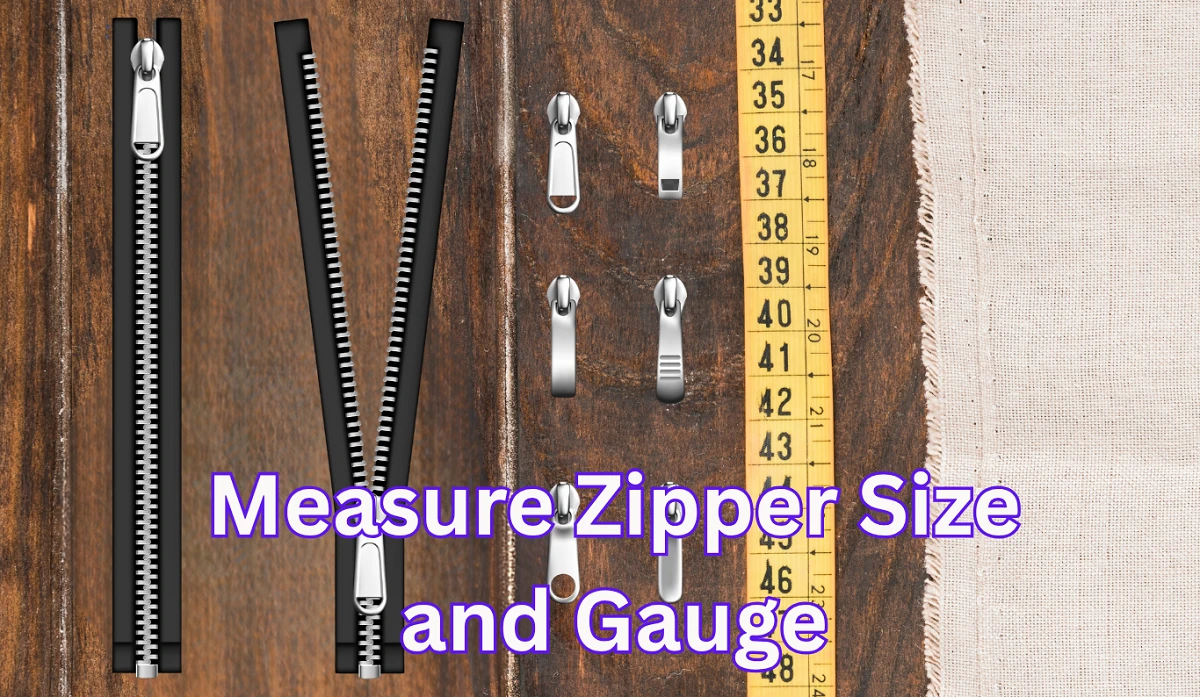
Ever bought a zipper, only to realize it doesn’t fit your project? Yeah, that’s a universal facepalm moment. Understanding how to measure zipper size and gauge saves both time and money—especially when you’re matching trims for production or repairs.
In this guide, you’ll learn exactly how to measure zippers like a textile professional. We’ll break it down in simple terms, sprinkle in a few industry tips, and maybe even save you from your next zipper meltdown.
Table Of Contents
Zipper Size and Gauge
Before grabbing your measuring tape, you need to understand what you’re measuring. Zippers aren’t just random metal or plastic tracks—they’re precision-made components defined by gauge, length, and type.
What Does Zipper Size Mean?
Zipper size, often shown as #3, #5, #7, #10, etc., refers to the width of the zipper teeth when closed, measured in millimeters.
- For instance, a #5 zipper has teeth approximately 5mm wide when zipped up.
- Similarly, a #10 zipper measures around 10mm wide.
Zipper Gauge Explained
The zipper gauge represents the tooth width—a critical detail for compatibility. It determines not only the size but also the strength and application of the zipper.
- A #3 gauge is typically used for lightweight garments.
- A #5 gauge suits medium-weight jackets or bags.
- A #8 or #10 gauge works for heavy-duty uses like luggage, tents, or denim.
Why Measuring Zipper Size and Gauge Matters
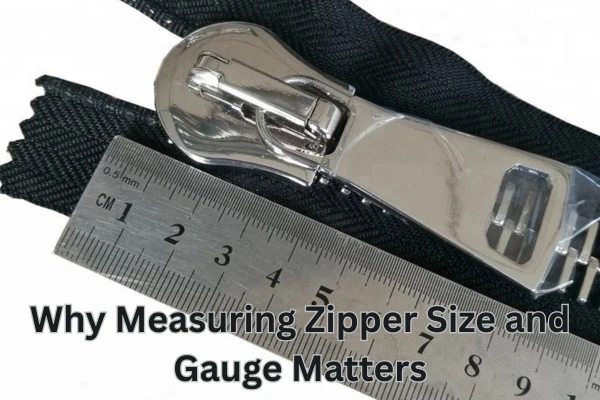

Choosing the wrong zipper can ruin a product. A 2022 Apparel Machinery Report showed that over 18% of garment rejections in export-quality control were due to zipper mismatches—wrong length, incorrect gauge, or incompatible slider size.
Accurate measurement ensures:
- Proper alignment during stitching.
- Smooth functionality during operation.
- Consistency in mass production.
Tools You Need to Measure a Zipper
Essential Tools List
- Steel ruler or vernier caliper: For precise millimeter readings.
- Measuring tape: Flexible and suitable for curved applications.
- Flat surface: To ensure straight measurement.
- Magnifier (optional): Helps when inspecting small teeth gauges like #3 or #4.
Step-by-Step Guide to Measuring Zipper Size
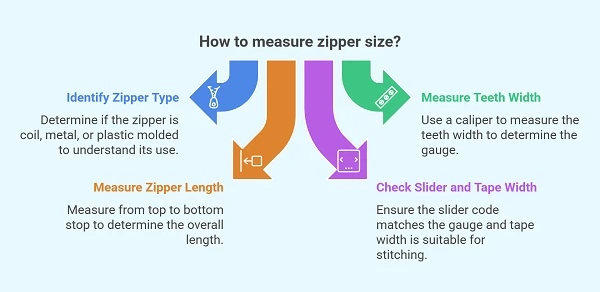
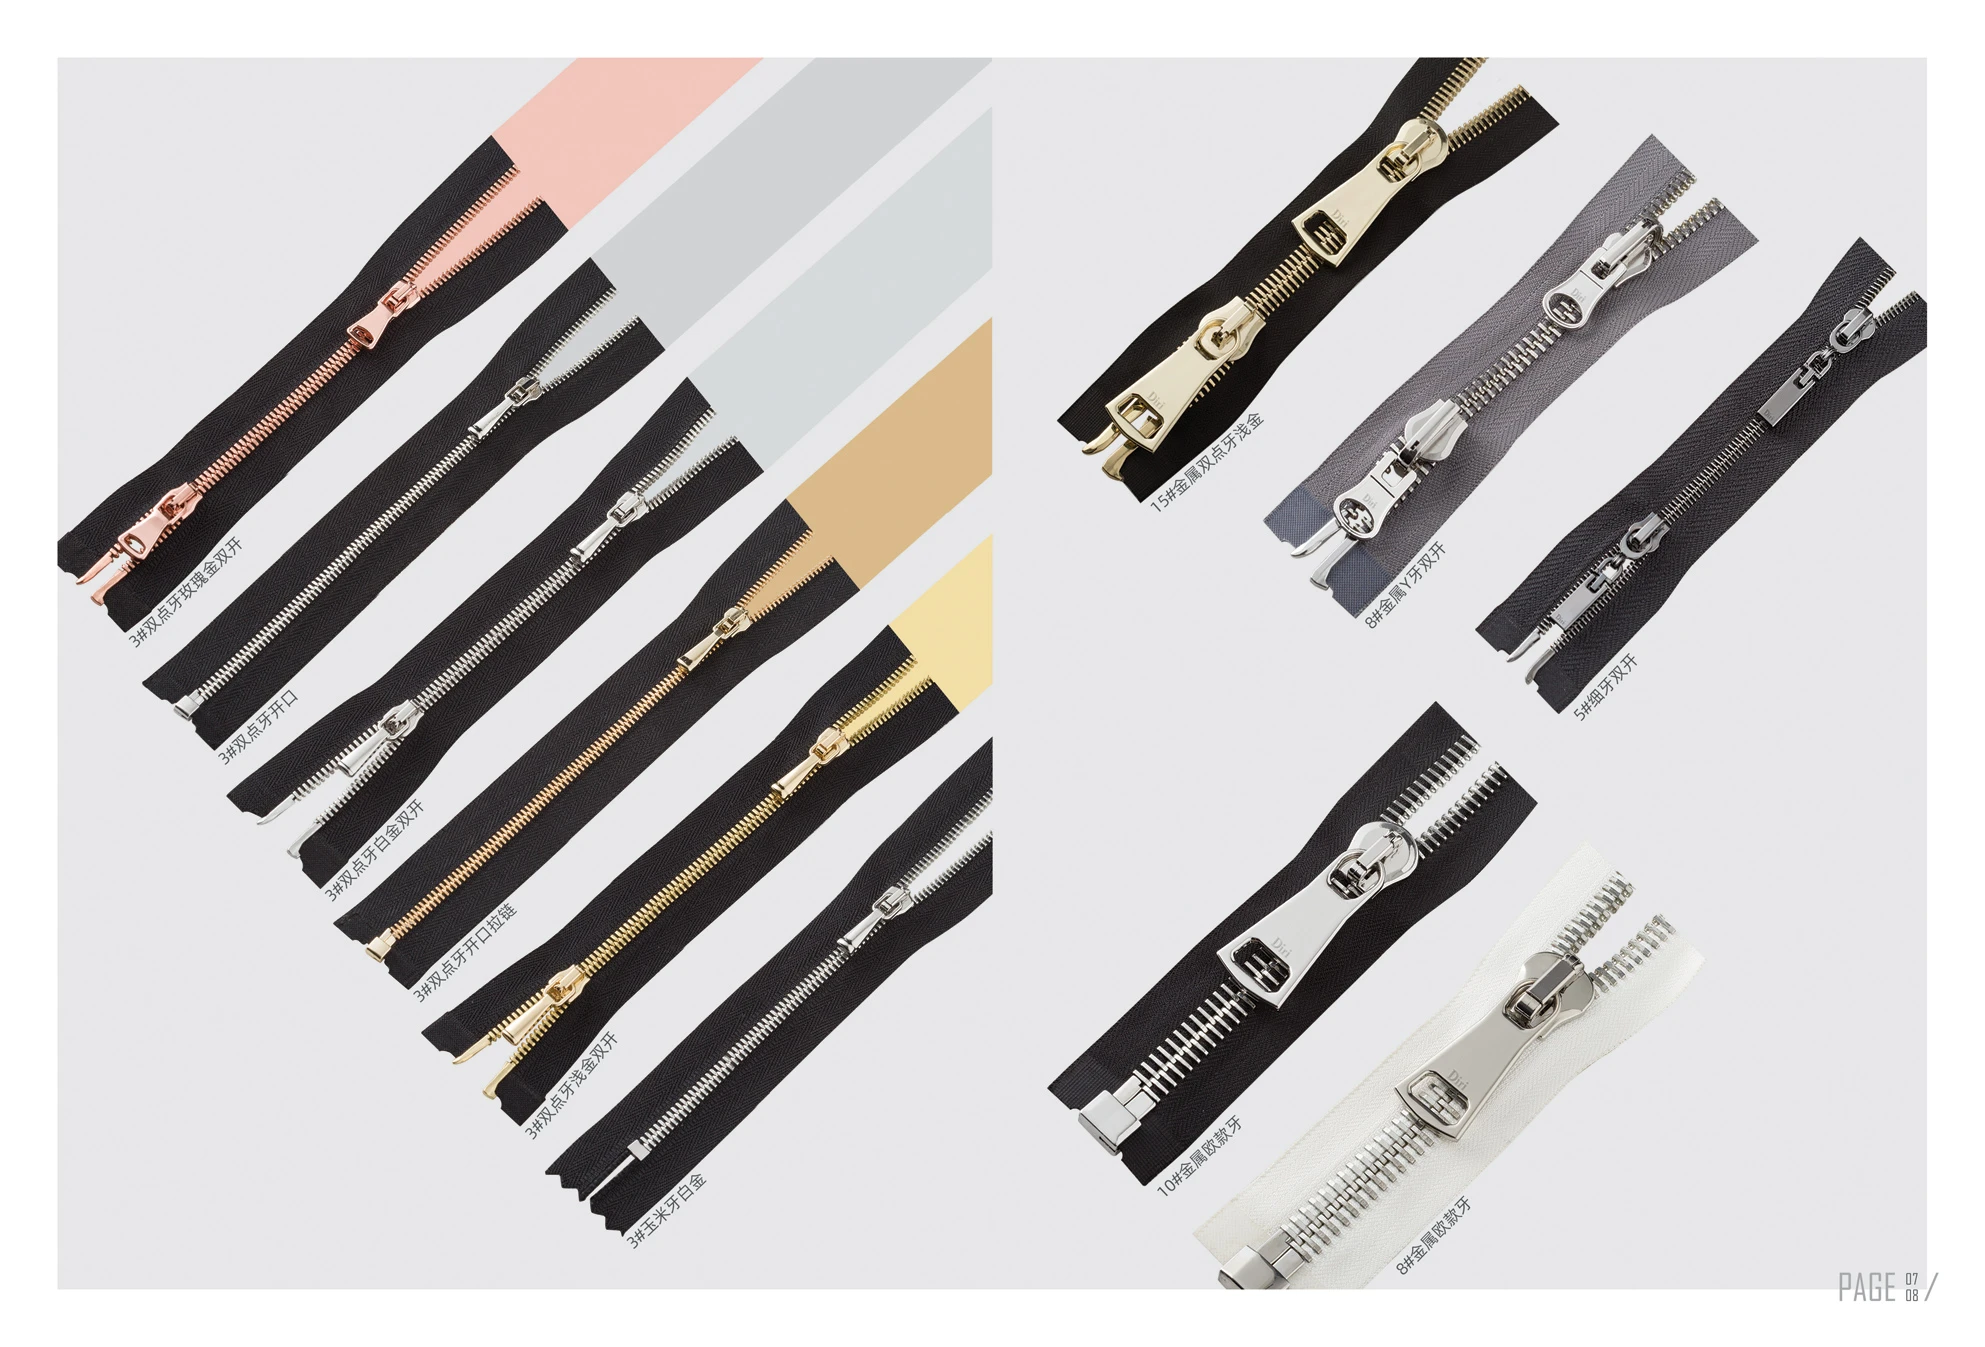
Step 1: Identify the Zipper Type
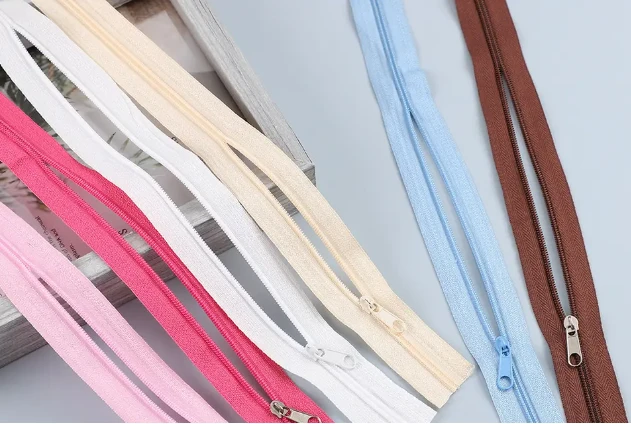
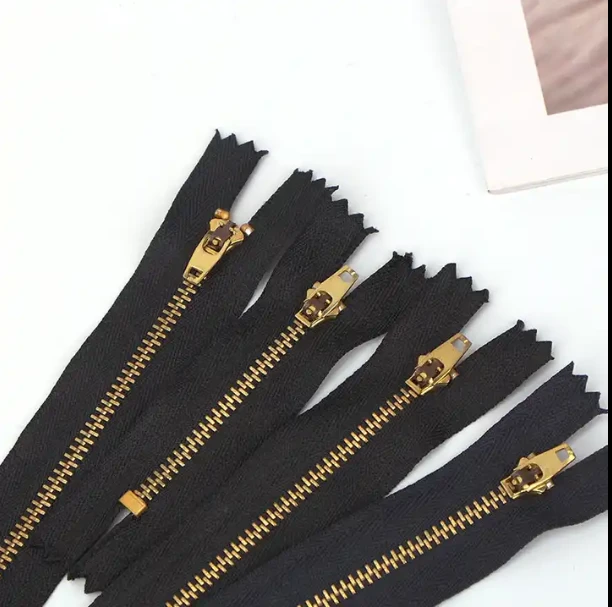
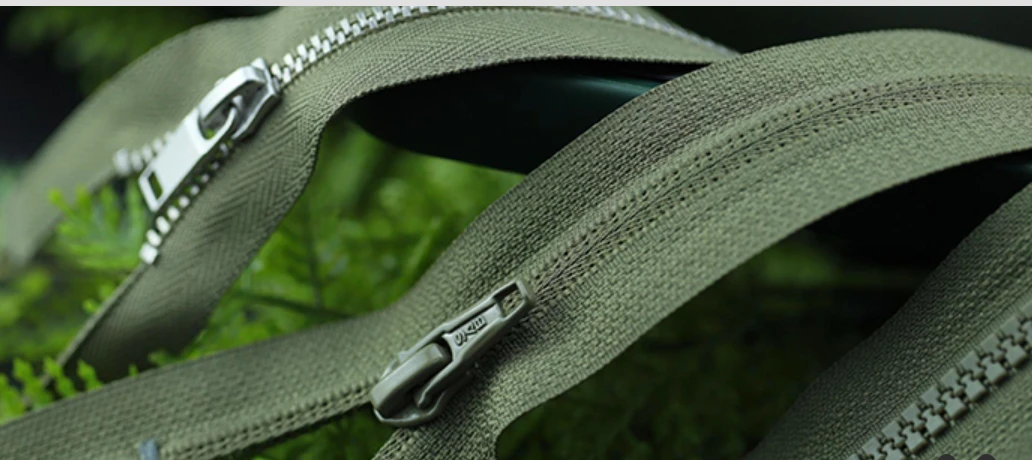
First, check whether your zipper is coil, metal, or plastic molded.
- Coil zippers: Found in sportswear or bags.
- Metal zippers: Common in jeans and jackets.
- Plastic molded zippers: Used in outerwear or children’s wear.
Step 2: Measure the Teeth Width (Gauge).
Lay the zipper flat and zip it up. Then use a caliper or ruler to measure across the closed teeth—not the fabric tape.
- Example: 5mm = #5 gauge, 3mm = #3 gauge, 10mm = #10 gauge.
This tiny number defines everything from slider design to fabric compatibility.
Step 3: Measure the Overall Zipper Length
Measure from the top stop to the bottom stop, excluding the extra fabric tape.
If you’re working with a separating zipper, measure from box to pin.
In production, length tolerances usually allow ±2mm deviation per zipper.
Step 4: Check the Slider and Tape Width
While not part of the gauge, the tape width impacts stitching.
Standard tape width ranges from 12mm to 15mm per side, depending on gauge size.
Check the slider code (e.g., 5VS, 5CN, 10RC)—it must match the gauge number.
Standard Zipper Size Chart (mm & inches)
|
Zipper Size |
Teeth Width (mm) |
Common Use |
|
#3 |
3mm |
Dresses, skirts, lightweight garments |
|
#4.5 |
4.5mm |
Medium jackets, tops |
|
#5 |
5mm |
Bags, jeans, mid-weight garments |
|
#7 |
7mm |
Workwear, outerwear |
|
#8 |
8mm |
Heavy coats, boots |
|
#10 |
10mm |
Luggage, tents, industrial wear |
These measurements are industry averages. Manufacturers like YKK, Riri, and SBS may have micro-differences in tape width and stop structure.
Practical Tips from Garment Technologists
- Always measure the teeth width when the zipper is zipped up.
- Never rely on tag numbers alone—some suppliers use non-standard sizing.
- For mass production, specify tolerance (+/- 2mm) in your technical pack.
- Avoid pulling the tape during measurement—it can stretch slightly, especially in polyester coil zippers.
- Keep a zipper reference chart at your workstation—it speeds up QC checks.
Common Mistakes to Avoid When Measuring Zippers
- Measuring from tape end to tape end (wrong).
- Ignoring the top or bottom stop position.
- Mixing up the zipper gauge with the zipper length.
- Assuming metal and coil zippers share the same gauge-to-length ratio.
Final Thoughts
Zippers might seem small, but in garment manufacturing, they’re mighty. Knowing how to measure zipper size and gauge helps ensure your designs close smoothly—literally and figuratively. Whether you’re a student, designer, or QC technician, accurate zipper measurement keeps your workflow sharp, your samples perfect, and your clients happy.
So next time you pick up a zipper, take that extra minute to measure. Because in the textile world, a few millimeters decide perfection.
FAQs
1. How do I know if my zipper is #3 or #5?
Measure the width of the teeth when the zipper is closed. Around 3mm = #3, and 5mm = #5.
2. Can I use a #5 slider on a #3 zipper?
No. Sliders must match the zipper gauge exactly—mismatched parts won’t zip properly.
3. Do metal and plastic zippers measure the same way?
Yes, but metal teeth may vary slightly in width due to their shape. Always measure when closed.
4. What’s the most common zipper size in garments?
3 for lightweight clothing and #5 for medium to heavy apparel are industry standards.
5. How do I measure a zipper for replacement?
Lay the old zipper flat, measure from top stop to bottom stop, and match the gauge width to choose the correct replacement.


Comments - 00
Leave A Reply
Thanks for choosing to leave a comment.