


An automatic shrinkage tester is a successful machine for testing the dimensional stability of clothes or fabric. You need to set up various options only. Then, this automatic machine will function by itself.
However, these settings need proper guidance. The machine will not run if the settings are invalid. So, we come up with a helpful guide on how to use an automatic shrinkage tester for you. Here you will know how to set the parameters and also a proper procedure on how to use them with some valuable precautions that you need to know for using this machine safely.
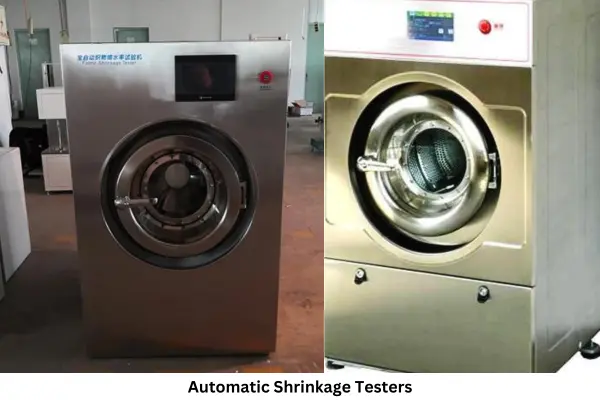
Before going to the main process, let me introduce you to the excellent Automatic Shrinkage Washer TF176 that is certified with ISO 5077 & ISO 6330. It has strong vibration resistance with corrosion-resistant materials. You can use this tester to get exact results. Continuing reading to know the steps of using.
Table Of Contents
5 Influential Parameters of Using the Tester Properly
There are 5 influential parameters that you need to set correctly. Otherwise, the machine can’t run. So let me tell you about the settings of these parameters.
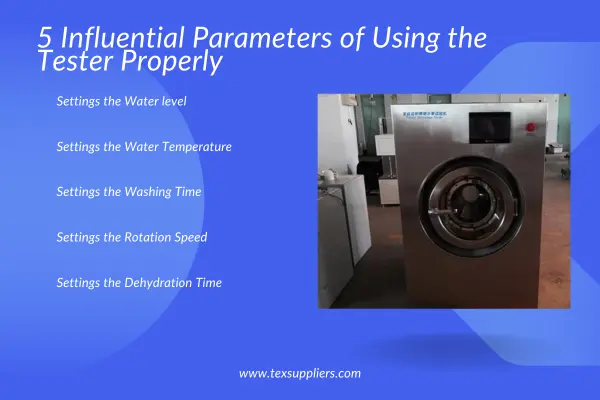
Parameter 1: Settings the Water level
You have to set the water level from the manual program. The water level will work under the 10-13 cm range. So you can fix the water level under this range.
Parameter 2: Settings the Water Temperature
Now, it's time to set the most crucial parameter of shrinkage testing. Because primarily, the heat shrinks the fabric. The tester can operate to 99°C.
Parameter 3: Setting the Washing Time
Washing time is also an important factor because the more the washing time the more the shrinkage level. You can fix the washing time from 0 to 99 minutes according to your requirements.
Parameter 4: Settings the Rotation Speed
You should set the rotation speed based on the quality of the fabric. You can set 500 - 800 rpm rotation speed.
Parameter 5: Settings the Dehydration Time
Dehydration is another influential factor in shrinking cloth. You need to set the dehydration time within 8-10 minutes.
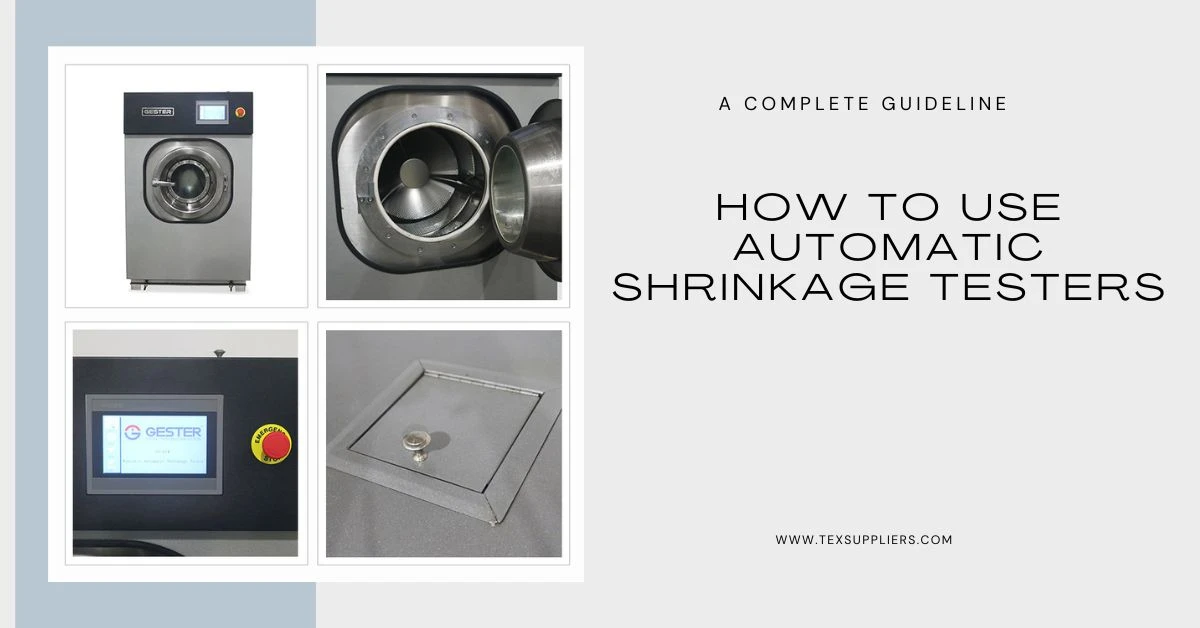
How to Use Automatic Shrinkage Tester
After knowing the parameters, you can use the machine very easily now. So let's start the step-by-step procedure.
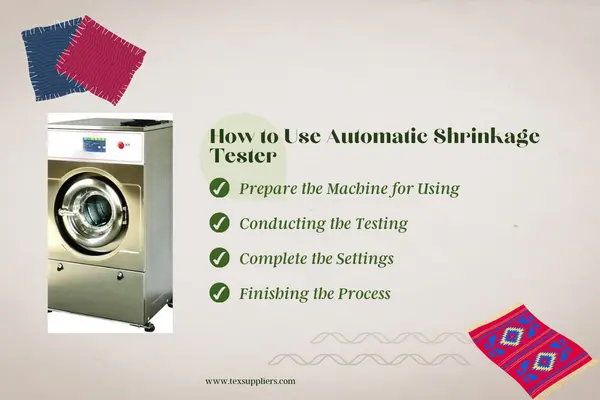
We make a 4-step procedure on how to use automatic shrinkage testers for you according to the expert's suggestion.
Step 1: Prepare the Machine for Using
Preparing the machine is essential before starting the procedure. In this step, you have to be aware of the following;
- The machine should be placed on a smooth surface.
- You should observe that all the electric cables are physically fine and not wet.
- Then switch on the power button.
Step 2: Conducting the Testing
- First, put some cleaning solution in the detergent chamber on the top.
- Open the door and put the measured fabric into the washer.
- Close the door properly.
- Start testing.
Step 3: Complete the Settings
This step is the most crucial step of using an automatic shrinkage machine. We have already told you about the range of every parameter, so here you will get the procedure only. You can select values according to your needs.
After turning on the power button, you can see a screen where you should do the settings process. We divide this step into 4 sections.
Section 1: Machine Settings
- Here, you can set the language so that you can skillfully understand what to do. We recommend setting English, it will be efficient for all.
- Then set the dehydration rate or rotation speed.
- You also can select the option of light or sound for the endpoint of this test.
Section 2: Manual Program Settings
- You can go to the manual program where you should set the water level
- Then set the method of washing. There are three methods available; normal, gentle, and moderate.
Section 3: Self-Editing Program
- There are some options here, you can choose E1 which consists of 4 rinse programs.
- Then set the water temperature, washing, cooling, and dehydration rates.
Section 4: Automatic Program Settings
After pressing it, you can find many options. Select one based on your requirements. For example, you can select the 9N option.
Step 4: Finishing the Process
- After completing the washing & drying time, the machine will turn off.
- Open the door. Remove the cloth from the machine.
- Now you can measure the fabric and determine the shrinkage of the fabric.
You may read also:
Bottom Line
Hopefully, this article will be beneficial for you and enable you to figure out how to use automatic shrinkage testers. You can follow our guidelines to avoid any problems.
.webp)
.webp)


Comments - 00
Leave A Reply
Thanks for choosing to leave a comment.