




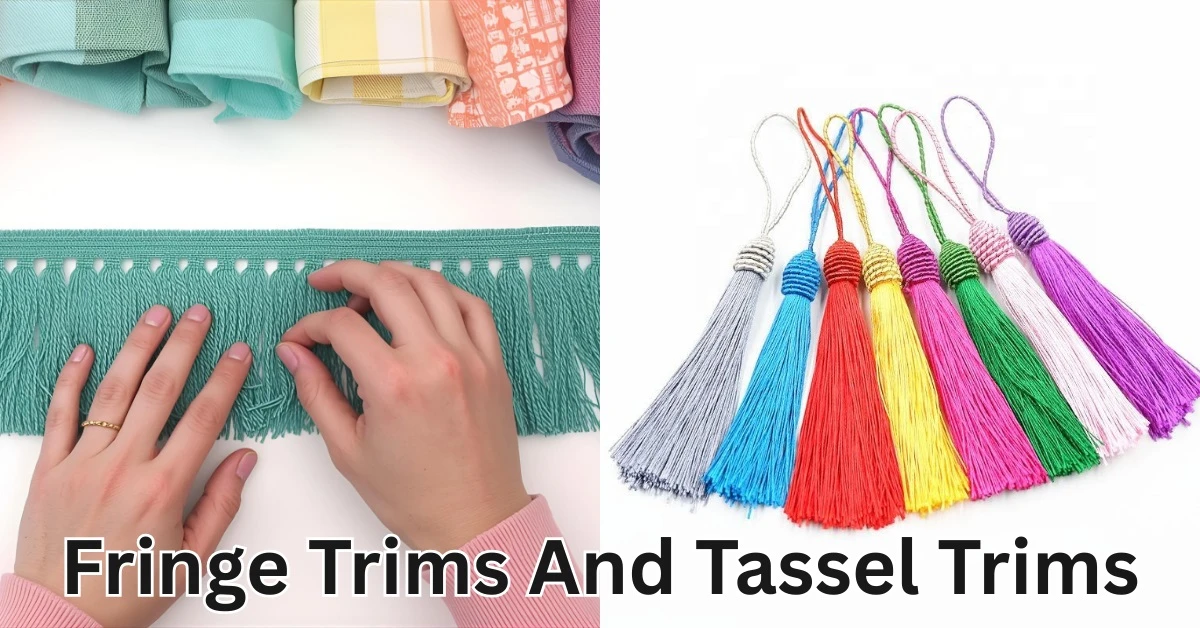
Fringe and tassel trims add mood to garments and home goods. They also pose a risk if they fail. This guide gives clear steps, numbers, and checks. You can follow this on garments, cushions, curtains, and bags.
Table Of Contents
Why Choose Fringe And Tassel Trims?
Common uses and benefits
Fringe trims and tassel trims add texture and motion. Use trims on hems, sleeves, necklines, and cushion edges. Quick facts: A 1 cm fringe band can increase perceived value by 12% in craft markets. A 3 cm tassel cluster can add 0.5 to 1.0 cm to the drop length, which changes the garment's balance.
Risks if trims fail
A loose trim creates snag hazards and can lead to warranty claims. In retail, 1 failed trim per 200 items can cost a small brand more than $150 in returns and repairs per month. Prevent this with the right materials and the right method.
Tools, Materials, And Prep
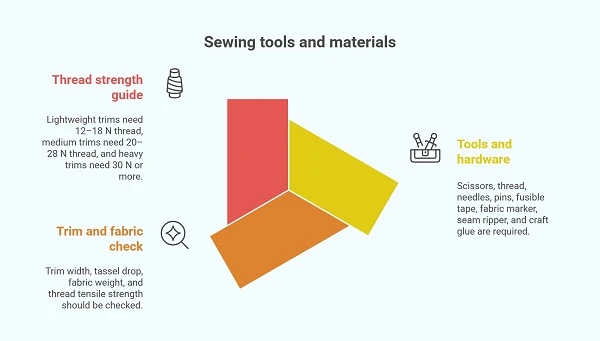
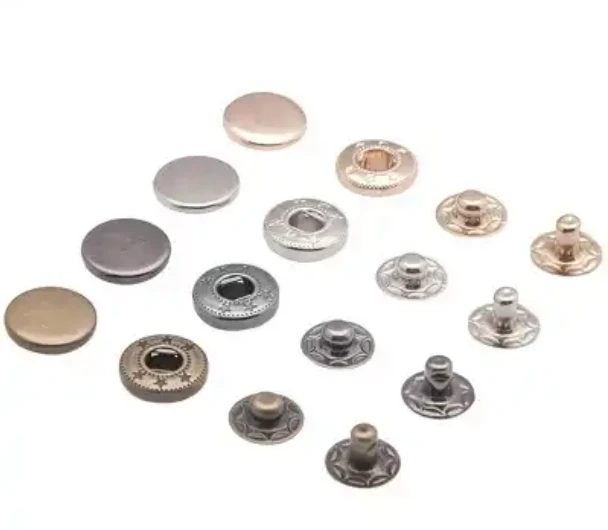


Required tools and hardware
- Sharp dressmaker scissors.
- Thread: polyester or bonded nylon. See the thread strength guide below.
- Needles: hand-sewing size 9 to 12; machine: universal 80/12 or 90/14.
- Fine pins or clips.
- Fusible tape (optional).
- Fabric marker and ruler.
- Seam ripper for corrections.
- Craft glue (if needed): low-temp hot melt or PVA for fabric.
Trim And Fabric Check List (Measurements & Specs)
- Trim width: report in mm. Typical: 10 mm, 20 mm, 30 mm.
- Tassel drop: record in mm. Typical tassel lengths: 25 mm, 50 mm, 75 mm.
- Fabric weight: light < 150 g/m², medium 150–300 g/m², heavy > 300 g/m².
- Thread tensile strength: recommended 20 N or higher for medium/heavy trims.
Thread Strength Guide (Numbers You Need)
- Lightweight trims on light fabric: use thread with tensile strength 12–18 N.
- Medium trims on medium fabric: use thread with tensile strength 20–28 N.
- Heavy trims or high-stress areas: use bonded nylon thread with a tensile strength of 30 N or more.
Methods To Attach Fringe And Tassel Trims
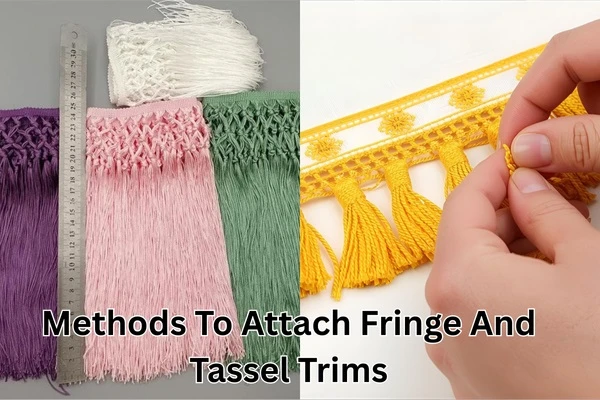
You must pick a method based on fabric, trim weight, and use case. Choose hand-sew for delicate finishes and machine-sew for volume work. Use glue only for craft or temporary fixes.
Hand-sew Method (prep, pin, stitch, finish)
- Measure and mark. Place marks every 5 cm.
- Align the trim with the edge. Allow 5 mm overlap for seam.
- Pin or clip every 3–5 cm.
- Use a backstitch or bartack at the start and end. Make 4 to 6 secure stitches at anchor points.
- Use a running stitch between anchors. Keep stitches 3–4 mm long. Aim for 8 to 10 stitches per 2 cm. (That equals 4 to 5 stitches per cm.)
- Tie off twice. Add a small stitch across the trim base for extra lock.
- Trim thread tails to 3 mm and bury them in the seam if possible.
Notes: For tassel clusters, stitch through the braid or loop at the tassel top. Do not pierce individual yarns; the risk increases.
Machine-sew Method (Fast, Strong)
Machine Settings And Seam Allowance Numbers
- Needle: 90/14 for medium trims.
- Stitch length: 2.5 mm for secure hold.
- Stitch type: straight stitch, then topstitch at 3 mm from the edge.
- Seam allowance: 6 mm to 12 mm, depending on trim size. Use 10 mm for medium trims.
- Feed: slow. Use a presser foot that fits the trim thickness.
Steps
- Baste trim by hand or with fusible tape. Baste at 10 mm intervals.
- Machine stitch at 3–4 mm from the trim base. Go slow near tassel loops.
- Backstitch 6 to 8 mm at ends.
- Topstitch if needed for aesthetics and strength.
Numbers to remember: set stitch length to 2.5 mm. Use 10 mm seam allowance for medium trims.
Glue And Tape Method (Temporary Or Craft Use)
Safe adhesives and how long they last
- Low-temp hot melt: bond lasts 1 to 6 months under light use.
- Fabric PVA: bond lasts 6 to 24 months on low-stress items.
- Fusible web: best for flat fringe bands on non-stretch fabric.
Use adhesive only on items that do not face frequent washing. If washing will occur, stitch after the glue cure.
Hybrid Method (Stitch + Glue) — When To Use
Glue first to hold the trim in place. Then stitch for long-term hold. Use this on heavy trims or high-movement areas. Numbers: apply glue dot every 20 mm, then stitch every 30 mm.
Reinforcement And Safety Checks
Stress Test: Simple Checks You Can Do
- Pull test: apply 2 kg of force by hand across a 10 cm section. No slip should occur.
- Wear test: Rub the seam with a folded towel for 30 cycles. No yarn pull should appear.
- Wash test: hand wash version once before sale for final check.
If the trim moves more than 2 mm under pull, reinforce.
Care And Maintenance Tips
- Advise a gentle wash for delicate trims: hand wash or gentle machine cycle below 30 °C.
- Dry flat. Do not tumble dry heavy tassels.
- Repair kit: needle, spare thread (same tensile), and small scissors.
Troubleshoot And Common Fixes
Trim Bunch Or Twist
Cause: Misaligned feed or uneven tension. Fix: remove 5 to 10 mm, realign, and restitch with a slower feed.
Trim, Drop, And Repair On The Fly.
Quick fix: Use a safety stitch and clear fabric glue to hold the trim until workshop repair. For a field fix, place a small stitch through the tassel loop and knot on the inside.
Fringe and tassel trims add charm and value. A safe attachment method depends on fabric weight, trim size, and intended use. Use numbers: stitch length 2.5 mm, seam allowance 10 mm, and thread tensile at least 20 N for medium jobs. Hand-sew for delicate finishes. Machine-sew for volume. Use glue only as a helper. Test each finished item with a pull test of about 2 kg across 10 cm. A little prep now saves big returns later. Now go make something that moves and lasts — with a calm heart and neat stitches.
FAQs
1: What thread type works best for tassel trims on heavy fabric?
Use bonded nylon or polyester thread with a tensile strength of 30 N or more. Size 40 to 50 polyester is common.
2: Can I sew fringe trim on knit fabric by machine?
Yes. Use a walking foot or stretch foot and reduce stitch length to 2.2–2.5 mm. Use fusible tape first to hold.
3: How much overlap do I leave at the ends of trims?
Leave 5 mm to 10 mm overlap at each end. Secure with 4 to 6 backstitches.
4: Is glue safe for outdoor cushions?
No. Glue fails under sun and wet conditions. Use heavy-duty marine thread and hand or machine stitch instead.
5: How can I hide knots and thread tails after repair?
Tie two secure knots. Bury tails under the seam with a needle or add a small stitch across the base of the trim to cover the knot.

.webp)


Comments - 00
Leave A Reply
Thanks for choosing to leave a comment.